Our ancestors did it on a regular basis, but washing clothes without a modern washing machine and dryer is hard work. Unfortunately, it’s going to be a necessary evil during any crisis.
But there are different off-grid methods, so let’s learn how to get your clothes clean as safely and efficiently as possible.
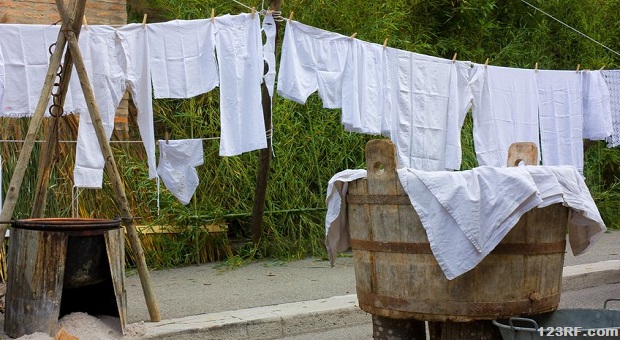
You can, of course, use a washboard and water tub to do laundry but we suggest that you purchase an old wringer washer if you can find one and if you can afford it. They do take up some space but if you actually reach a point where you need it then you’re going to be thankful that you have it, especially if you have a large family. It would also be a killer tool to have if you wanted to trade services because many folks are NOT going to want to use a washboard, or worse yet rocks, to get their clothing clean.
If you can’t find or afford an old wringer washer, you can make your own using various designs. You’ll need a tub, something to stir the laundry with and some way (a wringer, preferably) to remove the water. That’s not absolutely necessary but the dry time will be much longer if you don’t have a wringer. While watching some of the videos, it looks like a hand-crank pasta or pizza dough press would work well too.
Here are a few ideas to make your own washer for survival.
Bicycle Washing Machine
There’s a design that uses a bicycle to power a modern washer for you engineers and tinkerers that looks relatively simple if you have a bit of know-how.
Basically, a washer works by using a belt that drives the motor, which causes the oscillator to turn inside and clean your clothes. Instead of using electricity, you can modify the bicycle to remain immobile and run the belt, which will run the washer.
Voila! You get clean clothes and exercise at the same time.
Video first seen on Paul Joseph Park.
Dasher WasherThe basin of this washing device is made with a piece of curved steel sheet metal and flat pieces of metal or wood for the sides that you either weld or bolt together then caulk.
There’s a hand-swung dasher (swing bar) that runs along the bottom of the curved (half-circle or half-oval) basin and acts as an agitator to beat the dirt out of your clothes.
All that you have to do is fill it half way or so with water, add soap, place your clothes in, and work the handle back and forth to operate the swing bar in the bottom.
Just in case you’re wondering, effective dimensions for this washer are:
- Dimensions 25in w, 24in long, 17in deep.
- Dasher is a stainless steel swing bar that’s 12 ½ inches around 21 ¼ inches long. It’s attached to the crank with either wood or metal dowels and sits about ½ in off the bottom of the basin.
- The legs are 24” long.
- The sheet metal that forms the basin is 50” long and 24” wide and bent into a half-circle or half-oval shape.
Video first seen on Eco Jaunt.
2 Five-Gallon Buckets and a PlungerThis is an extremely simple design that will be easier to store if you don’t have a ton of space. The buckets need to be the same size and fit into each other and you need at least one lid.
- First, drill plenty of holes into one bucket so that it looks similar to the inside tub of your washing machine.
- Drill a hole into the center of the lid so that the plunger handle fits in it.
- Put the holey bucket into the intact bucket and place the plunger inside.
- Place water, soap and some clothes into the bucket.
- Put the handle through the hole in the lid and affix the lid.
- Work the plunger back and forth and up and down for several minutes, depending on how dirty your clothes are.
- Remove lid and dump water.
- Fill with rinse water and repeat process. Repeat if necessary to get the soap out.
- Remove lid and pull the holey bucket with the clothes from inside of the intact bucket.
- Place the intact bucket inside of the holey bucket, put the lid on it, and sit on it to smash the water from the clothes.
- If you’d like, you can hang the clothes bucket and spin it to sling the water out, too.
- You’re done!
Video first seen on Tiny House Listings.
Washboard MethodThough this method is backbreaking and time-consuming, it’s certainly an effective option if you have no space in which to store or build one of the other designs. You can buy washboards at yard sales and thrift shops, though they’re becoming rare as time goes on and they become completely archaic.
If you’re just a little bit handy, you can build your own using aluminum or tin and wood. As a matter of fact, if you’re building one, you may want to build several so that you have your “heir and spare” plus possibly a few to barter with.
All that you’ll need to build one washboard is:
- A 12”x20”sheet of corrugated aluminum or tin
- 2 pieces of 2”x4” lumber, 24” long
- 4 dowel rods, 1 ½” in diameter
- ¾” plywood, cut 12”x20”
- Six or eight 1” stainless steel or aluminum screws
- Draw a line down the center of each 2×4, then measure 3 3/4” from either end, making a mark where the lines intersect.
- Using either mark, measure 5 ½” down, make another mark on the center line, then repeat so that you have 4 equally-spaced marks. Repeat on the other 2×4.
- Using a drill or a hole saw, cut 1 ½” holes over each mark, using the mark as the center. Don’t go too big or else your dowels won’t fit in them properly.
- Place wood glue on the end of a dowel and fit into each hole so that the boards are connected by the “ladder.” Make sure that the ends of the dowels are flush with the outsides of the boards. Allow to dry for a few hours.
- Seal and waterproof the wood and allow to set for 24 hours.
- Place the plywood over the dowels and drive 1 screw through each dowel on either side. The ends will hang over the dowels a bit; that’s OK.
- Now place your aluminum or tin on top of the plywood, trimming off any sides that hang over so that you don’t cut yourself.
- Screw the metal to the plywood in between the ribs, placing a screw every 4 inches or so. Make sure that you get them flush so that they don’t snag your clothes.
- You’re done!
http://www.survivopedia.com/svp_offgridwshingmchn/
No comments:
Post a Comment
Note: Only a member of this blog may post a comment.